

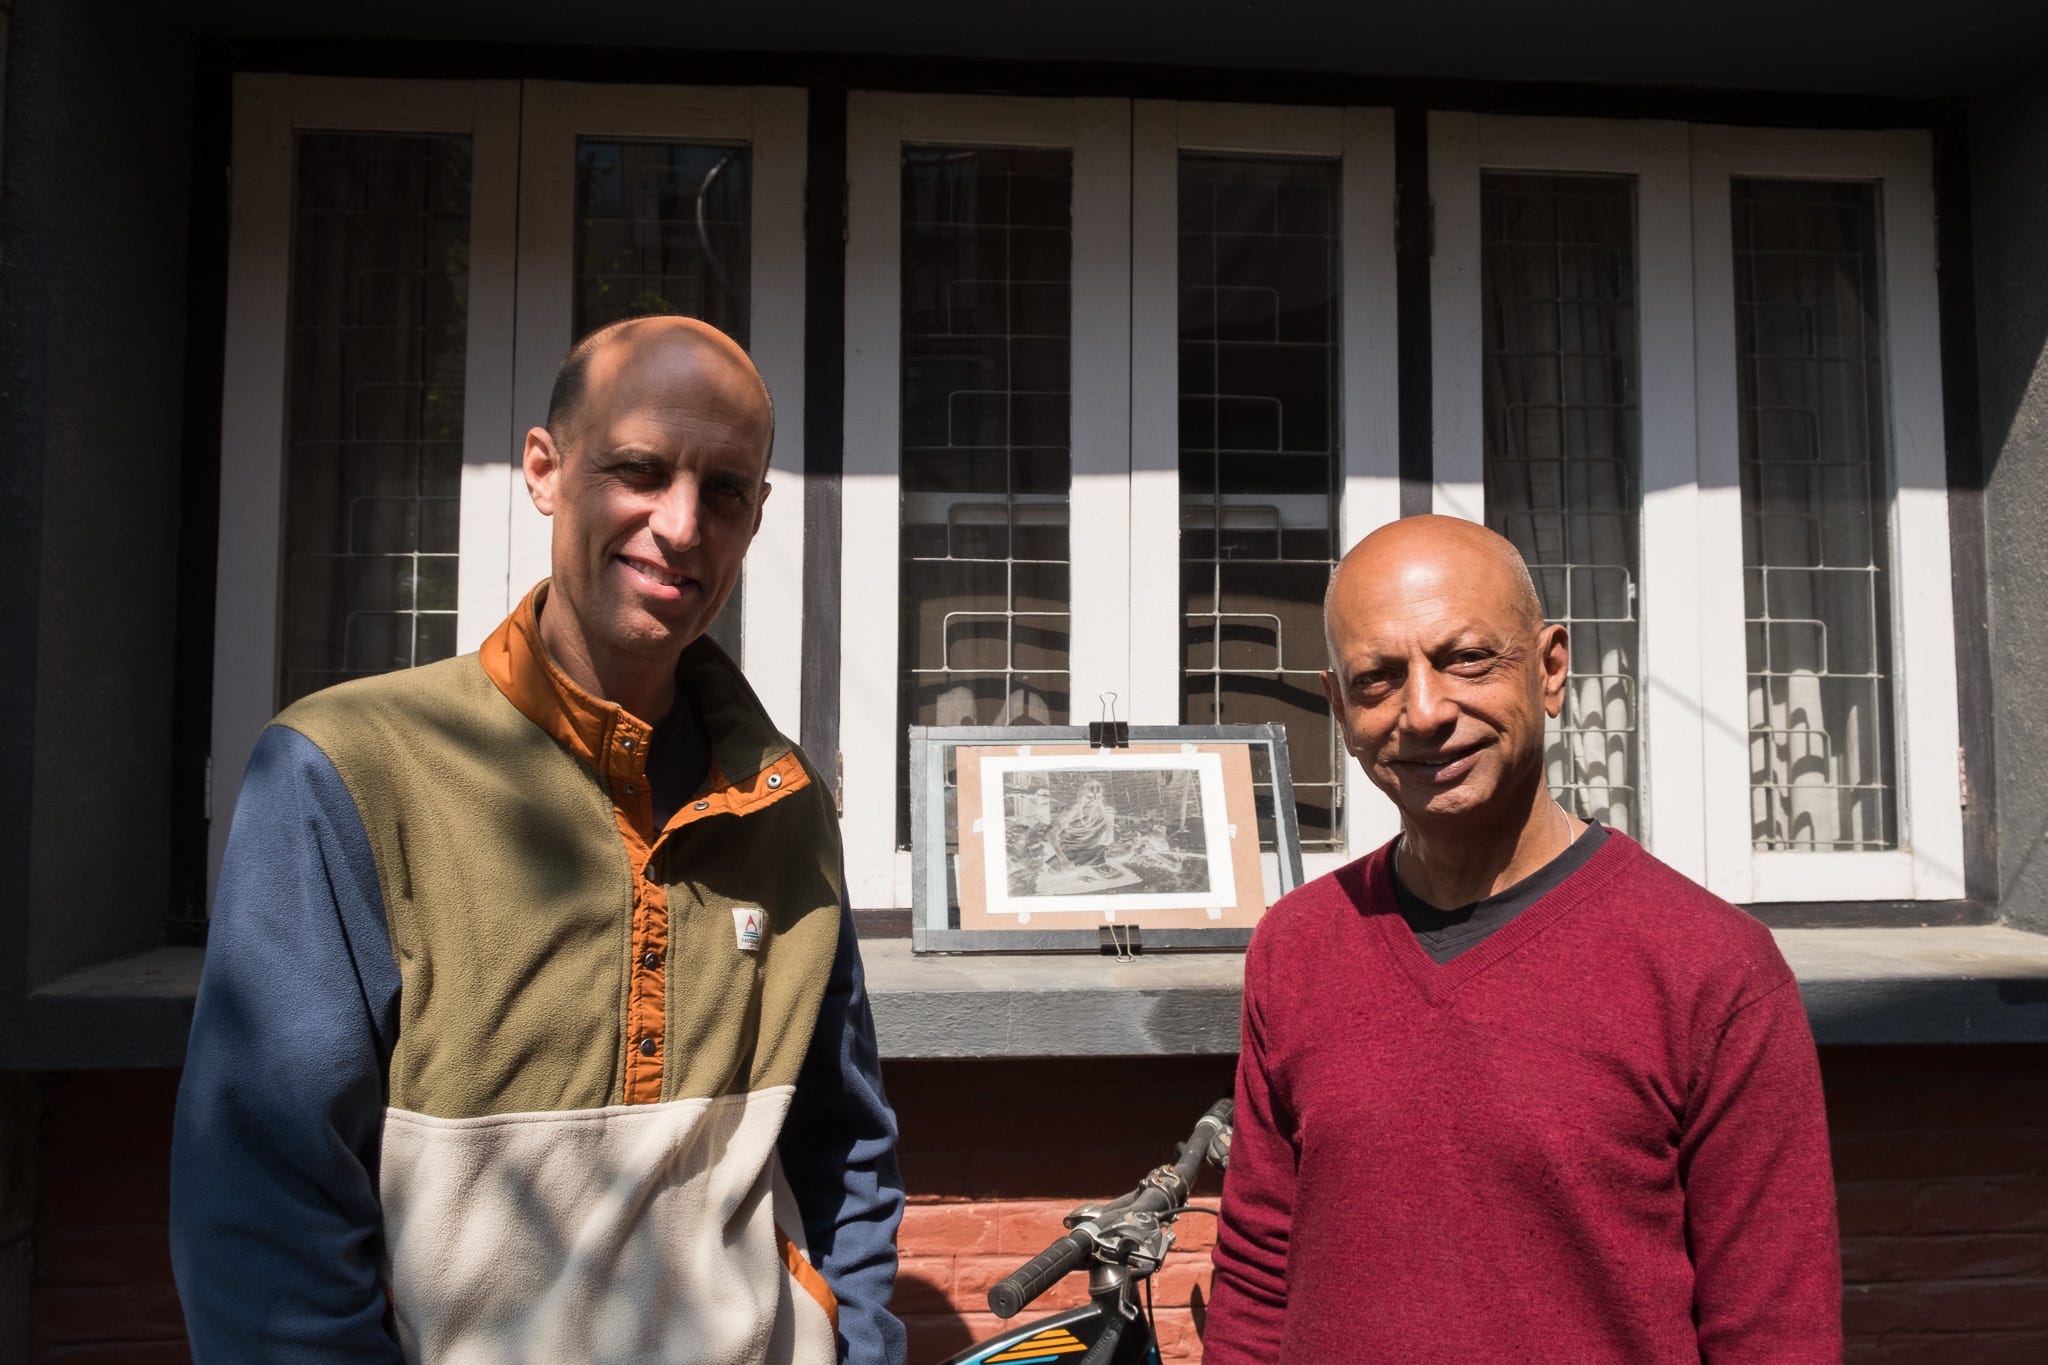
In the run-up to my Kathmandu exhibition, I visited a darkroom in Patan called the Film Foundry.1 I'm no film photographer, but the place is a bit of a hangout, so I thought I'd go down and say hello. I'm glad I did. I left with a few new friends and an appreciation for handmade printing methods from the 1800s. The place is run by a guy called Jaga, who I nicknamed Mick for obvious reasons. The banter was good, and his enthusiasm for the art of the possible rubbed off on me. Before going there, I had assumed darkroom printing precluded digital types like me. But I soon realised it's very much game on.
Over a couple of days, I created eight cyanotypes, and since exhibiting and sharing them on The Gram, I've been asked about it. So, I've written out the steps.
Step 1: Select suitable images
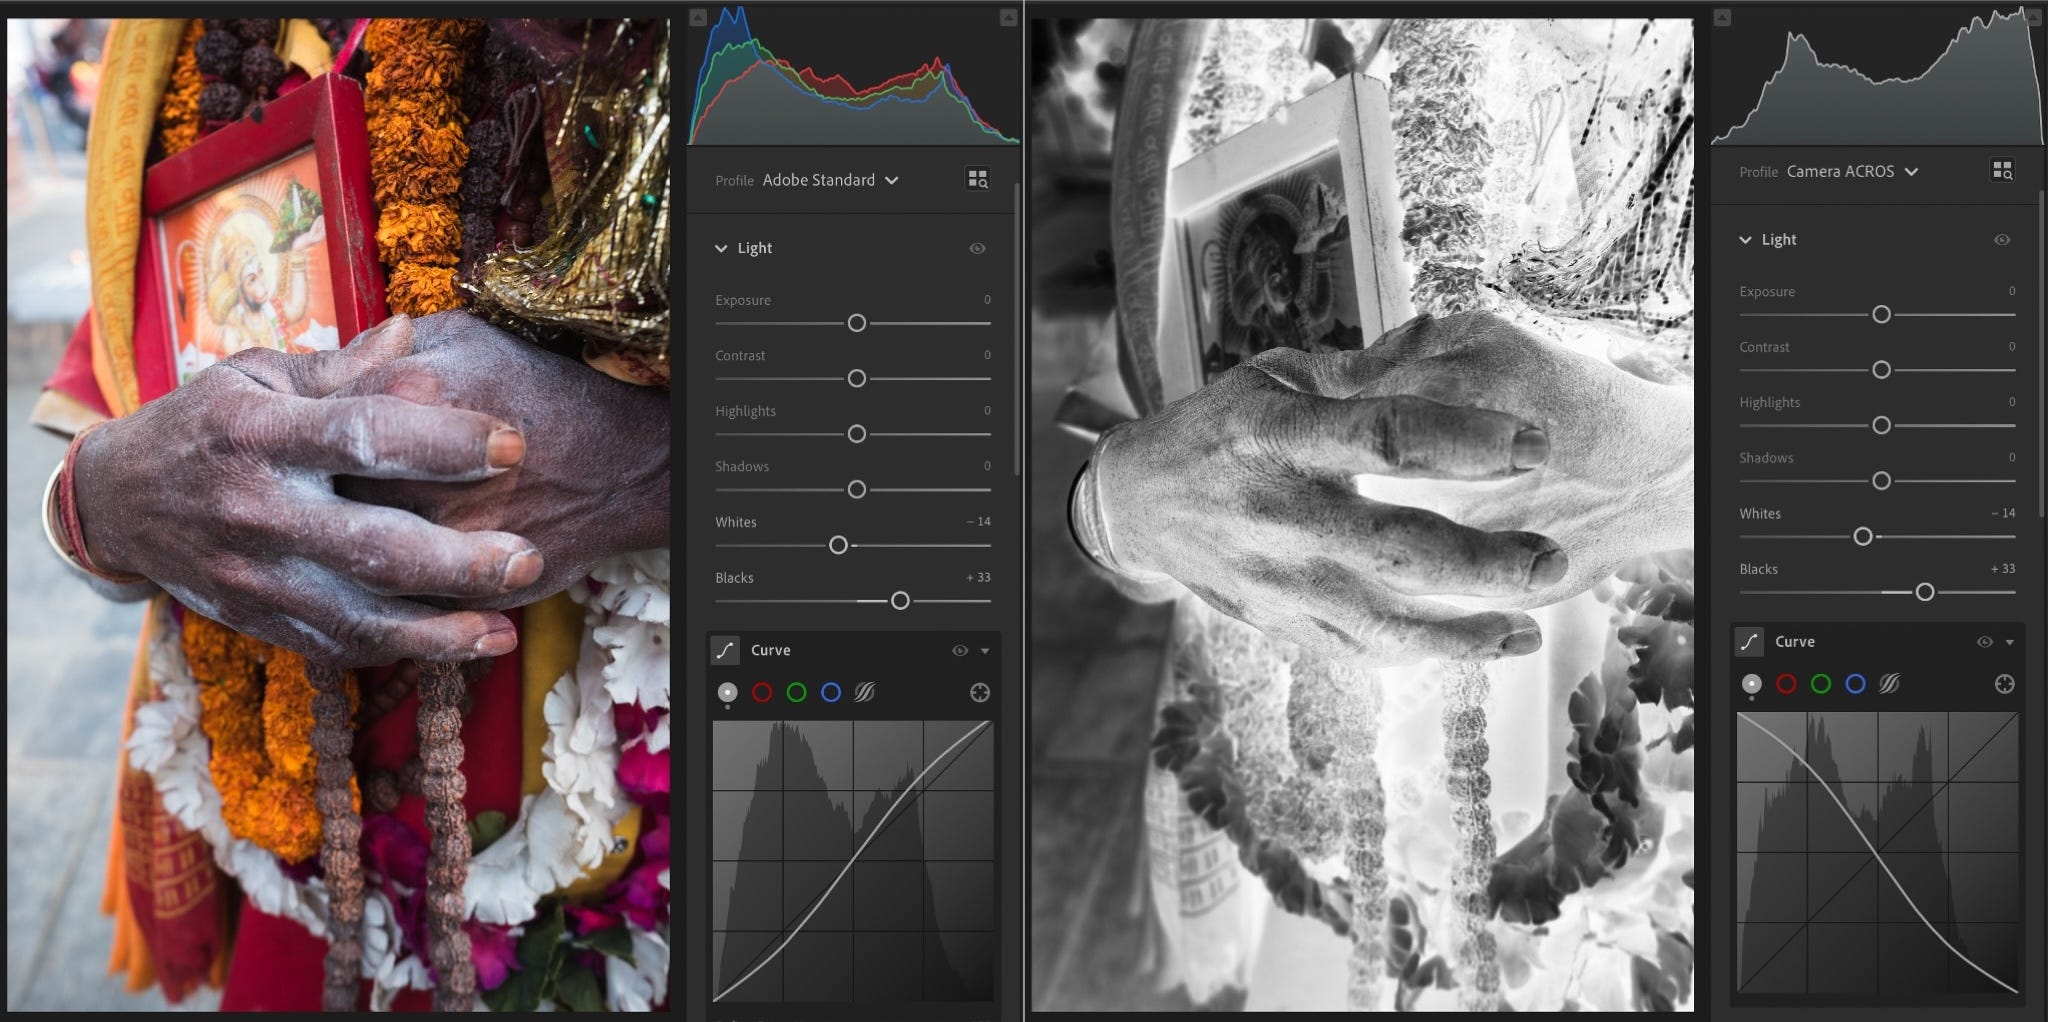
For my Kathmandu project, I shot in colour. But cyanotypes are monochromatic. So, I chose photographs with simple compositions and a wide tonal range.
Step 2: Convert digital images into physical negatives
Cyanotype is a contact printing method, which means the size of the physical negative is the size of the final print. So first, you need to create a digital negative. This is a skill in itself and worth spending time on. Apps and presets make this task easier, and Photoshop has an invert option. I freestyled it in Lightroom, reversing the tone curve before changing the colour profile to black-and-white and using other settings to add contrast. Finally, print on a transparent material of your choice. I used tracing paper (A4) because the printers were out of acetate.
Note: It is best to flip the negative horizontally before printing. So that it can be placed face down in step 4. I forgot and placed it face up.
Step 3: Brush light-sensitive chemicals onto watercolour paper
Watercolour paper comes in cold press, hot press and various weights. I used a hot press paper (309 gsm) because it's smoother and gives a clearer image. Then, the scientific part. Mix equal amounts of solution A (ammonium ferric citrate) with solution B (potassium ferricyanide) and brush it onto the paper in a rectangle slightly larger than the negative.
Step 4: Overlay the negative and expose to sunlight
To keep everything in place, we used a piece of glass, a board, masking tape and bulldog clips. Then, we found a sunny spot in the garden and tested different exposure times to find a duration with my preferred result. The Himalayan sun in mid-March made this around 20 minutes.
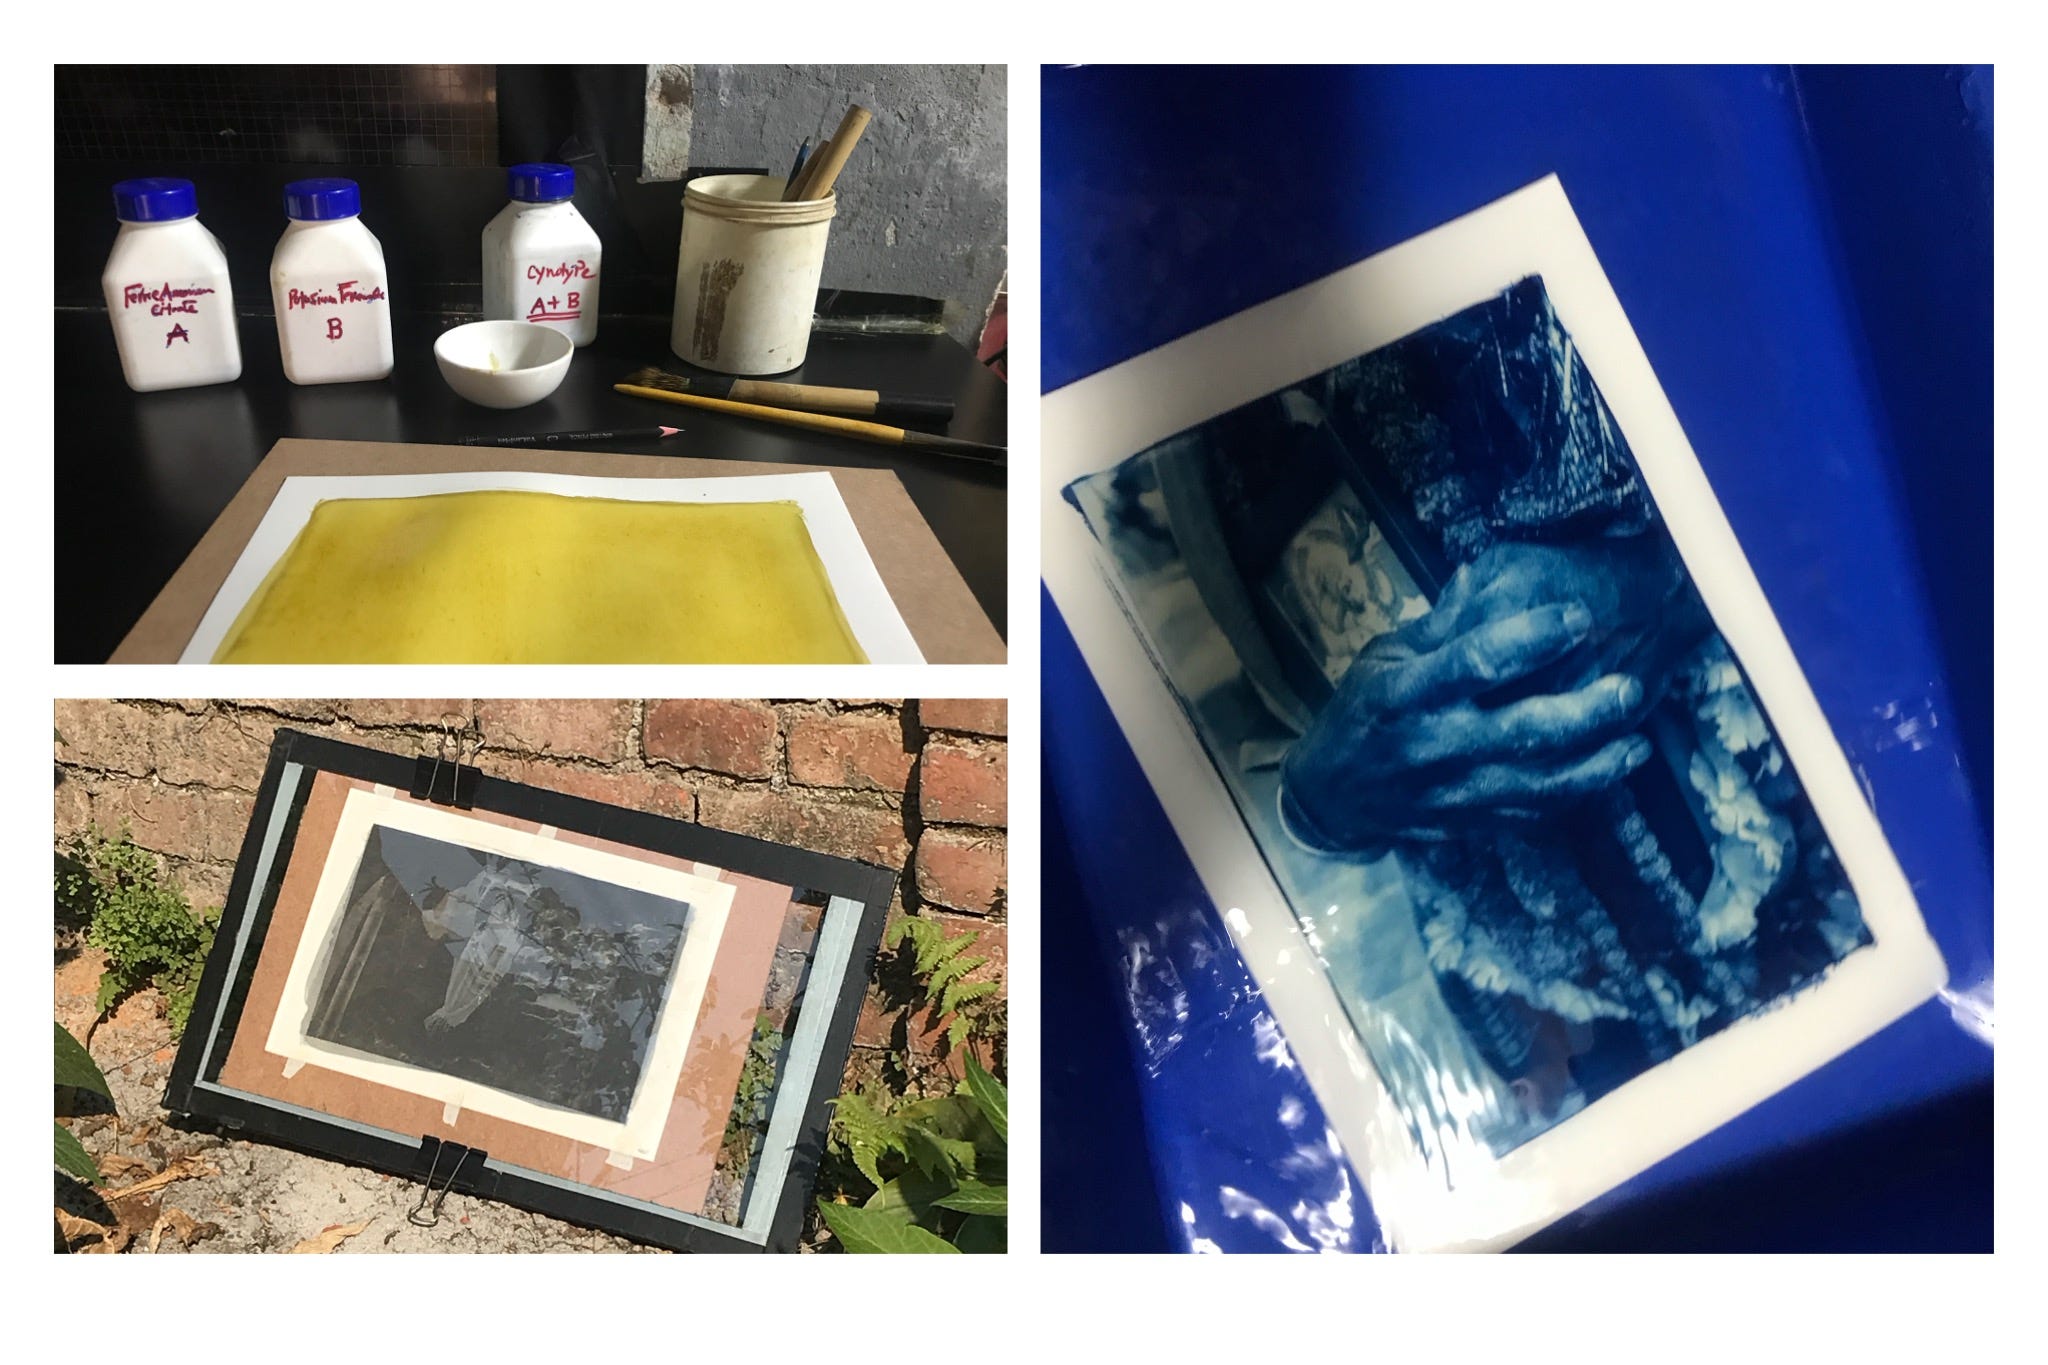
Step 5: Develop the image
Unclip the print and wash it under cold water with 2-3 drops of acetic acid. Another quicker wash with a few drops of hydrogen peroxide adds contrast and brightens the highlights. Then, hang it out to dry.
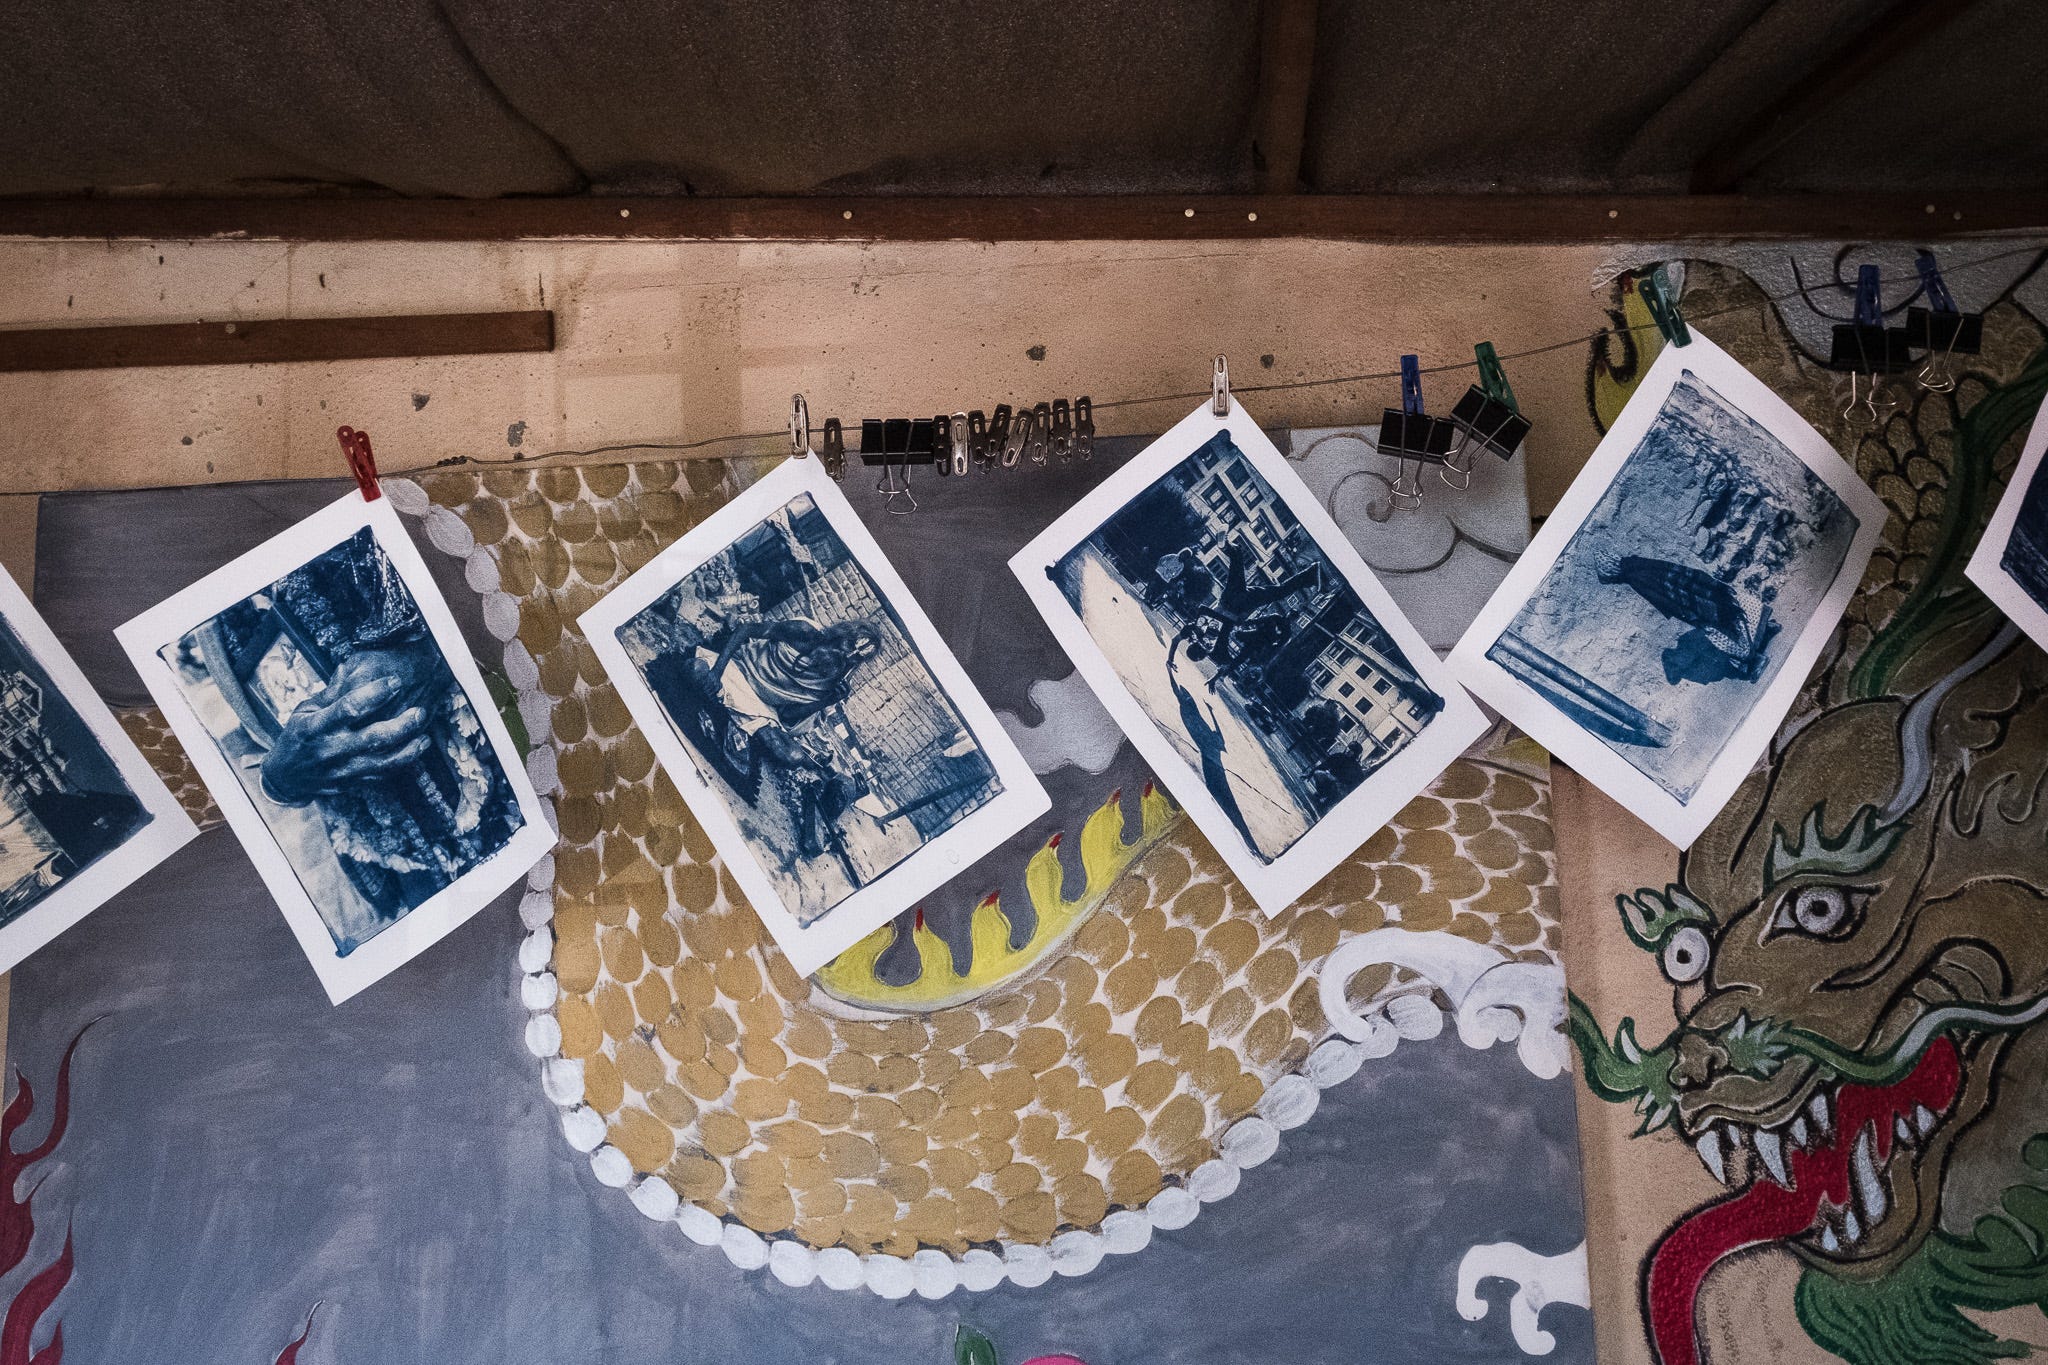
Step 6: Tone the image (optional)
Toning can make a print more archival, sharpen it, or add a specific hue. For my images, we desaturated the blues. This involved washing the dry image in water with a drop or two of selenium before hanging it to dry for the final time. Some people use tea or coffee for a sepia look.
A couple of posts ago, I shared a handmade zine. Darkroom printing scratches the same itch. Being a process that uses brushes, chemicals and sunlight, the variables are not constant. They change every time. This gives each print a uniqueness, which makes it more like a work of art.
Gallerists, I've learned, like this sort of thing. They're into the scarcity and the one-offness of it all. It increases the price and buyer appeal. That’s why many photographers limit their editions. Printing cyanotypes opened a doorway, and conversations with Jaga got me exploring other manual printing methods. One of them is platinum palladium.2 A comparatively expensive method. But one that results in an archival print that will last 1,000 years.
You might say, Why don't you just shoot film? I've toyed with the idea. But it feels like playing tennis with a wooden racket. And I'm not sure it would improve my game. The photographs of mine that excited me recently required working a scene and taking unnecessary shots. At a dollar a click, I would become too cautious. Digital gives me the freedom to make mistakes at zero cost.
Besides, us digital shooters don't have to miss out on the buzz of watching our images come to life in the developing tray. Film is not a prerequisite. But most alternative photographic processes3 are monochrome. And I mostly shoot colour. So, if I'm to do this with any integrity, I better get back into black and white.
Instagram: @Film_Foundry
Another tool in the creative process. Nice.
Great read Ben. I love the blending of old and new techniques. What's cool about this hybrid process is that with print a negative from a digital image you're not restricted by the size of the original negative. You could make some huge cyanotypes.